To press a DAB DTF transfer, pre-press the garment for 3 to 5 seconds, place the transfer ink side down, and press with medium to firm pressure. Hot-peel transfers take 311°F (155°C) for 8 to 12 seconds and peel right away. Cold-peel transfers take 300 to 320°F (149 to 160°C) for 12 to 15 seconds and peel once cool. Then cover the design with a protective sheet and press again briefly. Wait 24 hours before the first wash.
Settings differ between suppliers because film and adhesive powder differ. Always start from the instructions that came with your transfers.
What you need to press DTF transfers
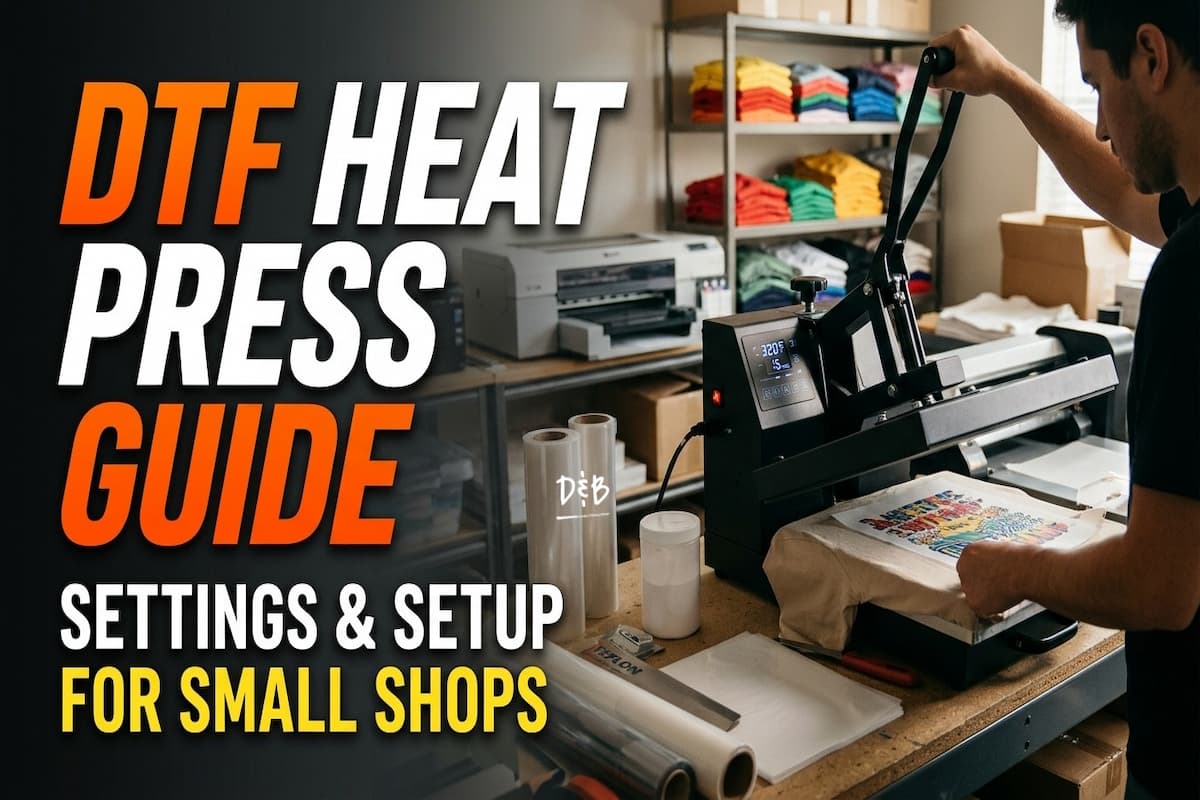
If you order transfers instead of printing them, your equipment list is short:
- A heat press with a digital temperature readout, a timer, and adjustable pressure
- A protective sheet: parchment paper, a Teflon sheet, or a silicone sheet
- Heat-resistant tape for hats, sleeves, and slippery fabrics
- A ruler or placement guide for consistent positioning
- An infrared thermometer or temperature strips to check the platen
- Optional: pressing pillows or pads for hoodies, zippers, and seams
You do not need a printer, powder shaker, or curing oven. The transfers arrive printed, powdered, and cured.
DTF heat press settings
DAB DTF transfer settings
| Setting | Hot-peel transfers | Cold-peel transfers |
|---|---|---|
| Pre-press | 3 to 5 seconds | 3 to 5 seconds |
| Temperature | 311°F (155°C) | 300 to 320°F (149 to 160°C) |
| Press time | 8 to 12 seconds | 12 to 15 seconds |
| Pressure | Medium to firm | Medium to firm |
| Peel | Immediately, while hot | After the transfer has cooled |
| Final press | 2 to 3 seconds with a protective sheet | 5 to 10 seconds with a protective sheet |
| First wash | After 24 hours | After 24 hours |
The peel type is set by the film, not by you. Check the instructions included with your order. Peeling a cold-peel transfer while it is hot can pull ink off the garment.
Why some charts list higher temperatures
Published DTF charts range widely, and some go as high as 356°F (180°C). Those numbers come from other films and powders. DAB transfers are designed for the settings above. Running hotter than needed doesn't make the bond stronger; it increases the risk of scorched fabric, dull colors, a stiff hand-feel, and dye bleeding through on polyester.
Adjusting settings by fabric
Treat these as starting points and test on one garment before a full run.
| Fabric | What to change | Why |
|---|---|---|
| 100% cotton | Use the standard settings with firm pressure | Cotton tolerates heat and bonds easily |
| Cotton/poly blends | Start at the lower end of the temperature range | Polyester content raises the scorch and dye risk |
| 100% polyester, performance wear | Lower end of the range, shortest time that bonds | Dyed polyester can bleed into the white layer and tint the print |
| Hoodies, fleece, sweatshirts | Use a pressing pillow so the print area sits above seams and pockets | Thick seams lift the platen and leave areas with too little pressure |
| Nylon, coated, or water-resistant fabric | Test first, and expect some fabrics not to bond | Coatings resist adhesive |
| Hats | Use a hat press or pillow and tape the transfer down | Curved surfaces and seams make pressure uneven |
Dye migration deserves extra attention. If a white or light design turns grey or pink on red, black, or heathered polyester, the garment dye is moving into the print. Lower the temperature, shorten the time, and test that blank before the run. Some blanks are not suited to light designs at any setting.

How to press a DTF transfer, step by step
- Heat and check the press. Set the temperature and let the platen heat fully. Check it with an infrared thermometer, since built-in readouts drift over time.
- Pre-press the garment for 3 to 5 seconds. This removes moisture and wrinkles. Moisture left in the fabric often causes transfers that look fine but lift in the wash.
- Position the transfer ink side down. Do not mirror the artwork; the transfer is already printed correctly. Use a ruler or guide, and tape the transfer on hats, sleeves, or slippery fabrics.
- Press. Use the time and temperature for your peel type, with medium to firm pressure.
- Peel. Hot peel right away; cold peel after the transfer has cooled. Peel slowly at a low angle, close to the garment. If ink starts lifting with the film, stop, lay the film back down, and press again for a few seconds.
- Final press. Cover the design with parchment, Teflon, or a silicone sheet and press again for the time in the table. This sets the adhesive into the fabric, reduces shine, and softens the hand-feel.
- Let it rest 24 hours before washing. Then wash inside out in cold water and tumble dry low. Do not iron directly on the design.
Parchment usually gives a matte finish, while Teflon and some silicone sheets can leave more sheen. Test both if finish matters to your customer.
Getting pressure right
Pressure is the setting most often blamed when DTF fails. The adhesive needs to be pushed into the fabric evenly across the whole design.
Most manual presses have no reliable pressure gauge, so use a simple test. Put a strip of paper under each corner and the center of the platen, close the press, and pull each strip. Each one should be held firmly. If one corner releases easily, adjust the press or move the garment so the print sits where pressure is even.
Common causes of uneven pressure:
- Seams, zippers, buttons, or pockets under the print area
- Laying the garment flat on the platen instead of threading it over the lower platen
- A clamshell press losing pressure toward the hinge
- A worn or uneven lower pad
Which heat press suits a small DTF business?
For DTF, the press needs three things above all: even pressure, accurate temperature, and a platen large enough for your largest transfer. A press that misses on any of these causes peeling no matter how good the transfer is.
Heat press types compared.
| Press type | How it works | Good for | Watch for |
|---|---|---|---|
| Clamshell | Top platen hinges open like a book | Small spaces, light garments, low budgets | Pressure can weaken toward the hinge; hands work under the hot platen |
| Swing-away | Top platen swings to the side | Thick garments, even pressure, safer placement | Needs more space around the press |
| Draw (drawer) | Lower platen slides out toward you | Safer, easier alignment in a tight space | Slightly slower cycle |
| Auto-open | Opens itself when the timer ends | Preventing over-pressing during busy runs | Higher price |
| Pneumatic (air) | Compressor applies set pressure | Consistent pressure across long runs | Needs a compressor and more power |
| Dual-station | Two lower platens share one or two heads | Loading the next garment while one presses | Higher price and floor space |
Platen size
A 15 x 15 inch platen is the practical minimum. A 16 x 20 inch platen covers most adult front prints and gives room for hoodies and larger designs. Check that your largest transfer fits inside the platen with some margin; DAB's by-size transfers go up to 20 inches wide.
Matching the press to your volume
- Starting, low weekly volume: a 15 x 15 or 16 x 20 manual swing-away or draw press with adjustable pressure and a digital readout.
- Steady daily orders: an auto-open press removes the risk of over-pressing when you are busy with the next garment.
- Bulk and team orders: pneumatic and dual-station presses keep pressure consistent across hundreds of pieces. DAB sells a 16 x 24 inch dual-head pneumatic press with a built-in compressor for shops at this stage.
A household iron can press a one-off personal piece, but it cannot hold even pressure or an accurate temperature. It is not suitable for work you sell.
Pressing workflow for bulk orders
Pressing is usually where small shops lose time on large orders. A conservative estimate is about 5 minutes per shirt to load, align, press, peel, and final press, or roughly 12 shirts an hour on one press. A 100-shirt order is a full day of pressing.
Ways to keep quality steady as volume grows:
- Cut and sort transfers first. Separate gang sheet designs by size and placement before you start.
- Batch by placement. Press all left-chest prints, then all fronts, without changing setup in between.
- Use a placement guide. The same measurement on every shirt keeps an order consistent.
- Press one test garment from each blank type. Different brands and colors behave differently.
- Check the platen temperature every few hours during long runs.
- Add a station before adding shifts. A dual-station or auto-open press lets one person align the next garment while the current one presses.
For the cost side of bulk orders, including cost per print on gang sheets and what to charge for pressing, see How Much Does DTF Printing Cost?
Troubleshooting common pressing problems
| Problem | Likely cause | Fix |
|---|---|---|
| Edges lift right after peeling | Low pressure, low heat, or short time | Lay the film back down and re-press; check pressure with the paper test |
| Ink pulls up with the film | Peeling too early for the film type | Let it cool and test a cold peel; re-press if lifted |
| Transfer peels after washing | Moisture, low pressure, no final press, or washed too soon | Pre-press, check pressure, always final press, wait 24 hours |
| Cracking after washing | Too much heat or time, or very stretchy fabric | Lower the temperature within the range; test the blank |
| Shiny or plastic-looking print | Skipped final press or a glossy cover sheet | Final press with parchment |
| Scorch marks or a box outline | Too hot, too long, or no cover sheet | Lower heat, use a cover sheet, use a pressing pillow |
| Grey or pink tint on polyester | Dye migration | Lower temperature, shorter time, test another blank |
| One side bonded, the other not | Uneven pressure or a seam under the print | Thread the garment, use a pillow, check the lower pad |
| Transfer shifts when the press closes | Air movement or slippery fabric | Heat tape; close the press smoothly |
If you have checked all of these and a batch still fails, contact your supplier with photos and your press settings. DAB replaces defective transfers reported within 7 business days of delivery.
DTF transfers compared with other heat-applied methods
| Method | Equipment at your shop | Best for | Limits |
|---|---|---|---|
| DTF transfers | Heat press | Full-color designs, mixed fabrics, small to mid runs | Slight hand-feel on large solid areas |
| Heat transfer vinyl (HTV) | Cutter and heat press | Single-color names, numbers, simple text | Weeding and layering for each color |
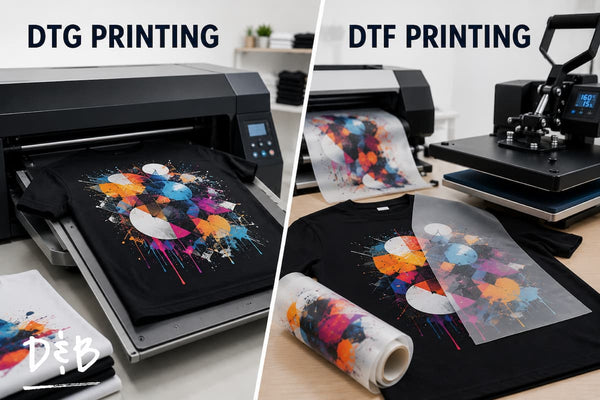
| DTG | DTG printer, pretreatment, curing | Soft prints on cotton | Pretreatment on dark garments, cotton-focused |
| Screen printing | Screens, press, dryer | Large runs of simple designs | Setup cost for each color |
For a detailed comparison, see DTG vs DTF Printing in 2026 and What Are DTF Transfers?
Get transfers made for your press.
DAB DTF prints every transfer at our Richardson, TX facility with no minimums. Build a gang sheet, order transfers by size, or request a free sample to test the settings on your own press and blanks.